The Moka pot, often referred to as a stovetop espresso maker, is a classic coffee brewing device that has been a staple in homes for decades. It was invented in 1933 by Alfonso Bialetti and remains a beloved method for making strong, rich coffee. While it doesn’t produce true espresso, the Moka pot creates a concentrated brew that’s full of flavor and perfect for those who enjoy bold coffee. Mastering the Moka pot requires an understanding of the right techniques, grind size, and brewing process. In this guide, we’ll explore how to brew the perfect Moka pot coffee, common mistakes to avoid, and tips for enhancing your brew.
Understanding the Moka Pot
A Moka pot consists of three main parts:
- The Bottom Chamber – Holds water, which turns into steam during brewing.
- The Filter Basket – Contains the ground coffee and allows steam to pass through.
- The Top Chamber – Collects the brewed coffee as it rises.
The brewing process relies on steam pressure to push hot water through the coffee grounds, extracting flavors and oils similar to an espresso machine but at a lower pressure.
Step-by-Step Guide to Brewing Moka Pot Coffee
1. Choose the Right Coffee and Grind Size
The grind size plays a crucial role in the brewing process. A grind that is too fine can cause over-extraction and clog the filter, while a grind that is too coarse will result in weak coffee. The ideal grind for a Moka pot is medium-fine, slightly coarser than espresso but finer than drip coffee.
For the best flavor, use freshly ground coffee instead of pre-ground coffee, as oxidation quickly depletes aroma and taste.
2. Fill the Bottom Chamber with Water
- Use filtered water to prevent impurities that may affect the taste.
- Fill the bottom chamber up to the safety valve (never overfill).
- Using preheated water instead of cold water can help prevent over-extraction and bitterness by reducing the time the coffee grounds are exposed to high heat.
3. Add Coffee to the Filter Basket
- Fill the filter basket with the ground coffee, leveling it off without pressing it down. Do not tamp the grounds as you would with an espresso machine, as this can block the flow of water.
- Lightly shake the basket to distribute the grounds evenly.
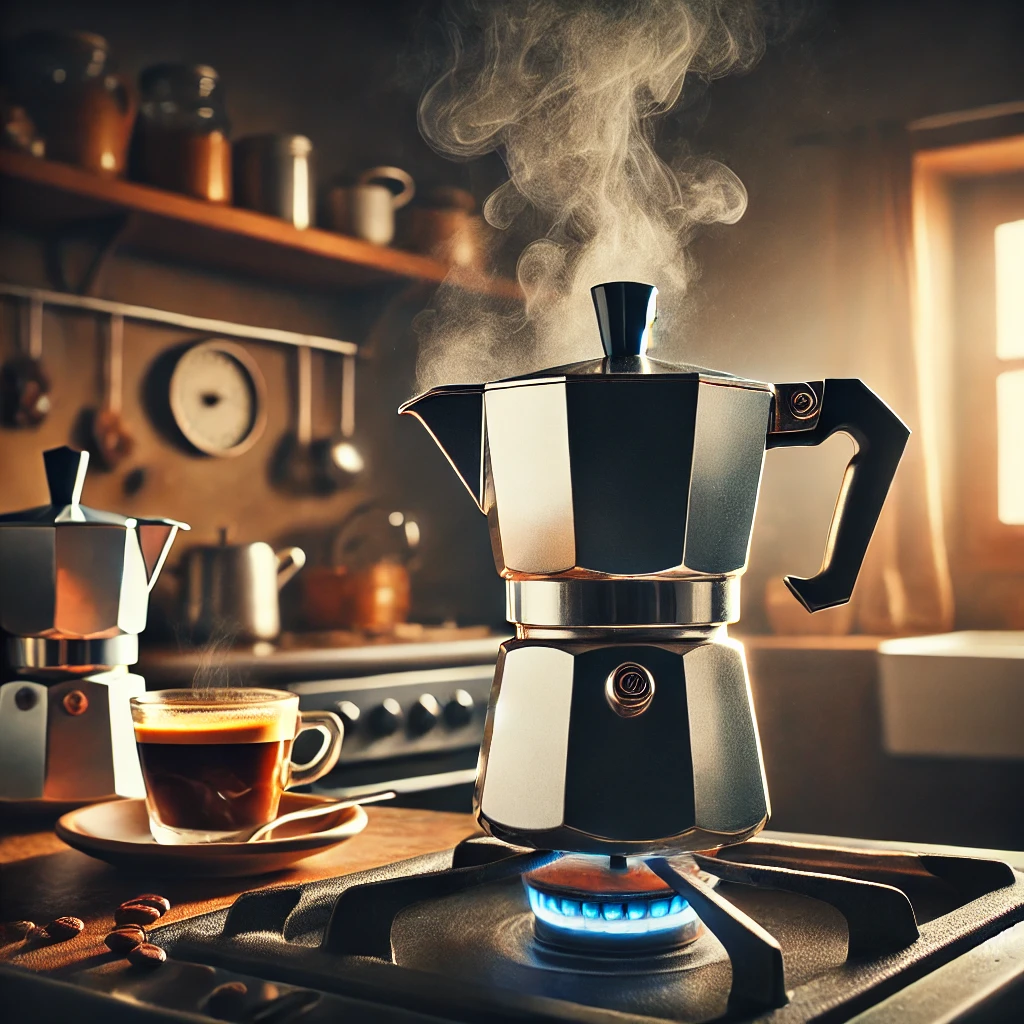
4. Assemble and Place on Heat
- Secure the top chamber onto the base, ensuring it is tightly closed but not overly forced.
- Place the Moka pot on medium-low heat. High heat can cause the coffee to brew too quickly, leading to a burnt taste.
5. Listen for the Brewing Process
As the water heats up, steam pressure will push it through the coffee grounds, and the brewed coffee will begin to rise into the top chamber.
- You’ll hear a gurgling or hissing sound when the coffee starts to emerge.
- Once the brewing process slows and you hear a bubbling sound, remove the Moka pot from the heat to prevent overheating and bitterness.
6. Cool the Base and Serve
- To stop the extraction and avoid over-brewing, place the Moka pot’s bottom chamber under cold running water or wrap it in a cold, damp towel. This helps lower the temperature quickly and prevents excessive pressure buildup.
- Pour the coffee immediately and enjoy it black or with milk, depending on your preference.
Common Mistakes to Avoid
- Using Too Fine a Grind: This can lead to clogging and over-extraction, resulting in bitter coffee.
- Brewing on High Heat: This causes the water to move through the grounds too quickly, leading to a burnt or harsh taste.
- Tamping the Coffee Grounds: Unlike an espresso machine, the Moka pot requires loosely packed grounds for proper water flow.
- Leaving the Pot on the Stove Too Long: This leads to over-extraction and can give the coffee a metallic or burnt flavor.
- Not Cleaning the Moka Pot Properly: Residue buildup can cause off-flavors in your coffee. Always rinse the parts thoroughly after each use.
How to Enhance Your Moka Pot Coffee
Use Fresh, High-Quality Coffee Beans
The quality of your coffee beans directly affects the final taste. Opt for 100% Arabica for a smoother, more nuanced cup or Robusta for a stronger, more intense flavor. Specialty coffee roasts often highlight unique flavors that shine in the Moka pot.
Experiment with Water Temperature
Using hot water instead of cold can shorten brewing time, reducing bitterness. If you start with cold water, the coffee sits on the heat longer, increasing the chance of burning the grounds.
Try Different Coffee-to-Water Ratios
While the Moka pot generally follows a standard ratio, you can experiment with slightly more or fewer coffee grounds to adjust the strength.
Create a Café-Style Drink
- Moka Americano: Add hot water to dilute the strong brew for a smoother taste.
- Moka Cappuccino: Steam or froth milk and mix it with the coffee for a creamy, balanced drink.
- Moka Mocha: Add cocoa powder or chocolate syrup to the coffee before mixing with milk.
Cleaning and Maintenance
To maintain the longevity and flavor of your Moka pot, follow these cleaning steps:
- After Each Use: Rinse all parts with warm water and avoid using soap, as it can leave a residue that alters the taste.
- Deep Cleaning: Occasionally, remove any coffee oils or buildup by soaking the Moka pot in a solution of water and vinegar.
- Check the Rubber Gasket: The rubber seal inside the Moka pot wears out over time. If you notice leaks or reduced pressure, replace the gasket for better performance.
Conclusion
Brewing coffee with a Moka pot is an art that, when perfected, delivers a rich, flavorful experience. By using the right grind size, water temperature, and brewing technique, you can achieve a bold yet balanced coffee that rivals espresso. Avoiding common mistakes and experimenting with different beans and ratios allows you to tailor your brew to your taste preferences.
With proper care and practice, the Moka pot can become your go-to method for making strong, satisfying coffee at home. So grab your Moka pot, follow these steps, and enjoy the perfect cup every time! ☕